How to paint correctly
Most people believe that painting any surface is not such a complicated process. Indeed, if you have the desire and enough free time, you can handle painting yourself. To do this, you need to carefully plan your work, take into account many points and get acquainted with the advice of specialists.
Choosing paint.
The building materials market offers a huge selection of products. It is not difficult for beginners to get confused by such a variety. When buying paint, there will be no difficulties if you pay attention to the following indicators:
- Environmental friendliness. When carrying out repairs in residential premises, it is important that the paint does not contain impurities harmful to the health of people and animals, does not have an odor during temperature changes.
- Moisture resistance. This property is especially indispensable when painting bathrooms, toilets and all surfaces that are often exposed to moisture.
- Surface type. Various types of paint and varnish materials are provided for concrete, wooden, plasterboard and brick coatings. Using the wrong paint can negate all efforts and will require further refinement, or even rework.
- Air permeability. For bedrooms and children’s rooms, the absence of the so-called “greenhouse” effect and free access of air are important.
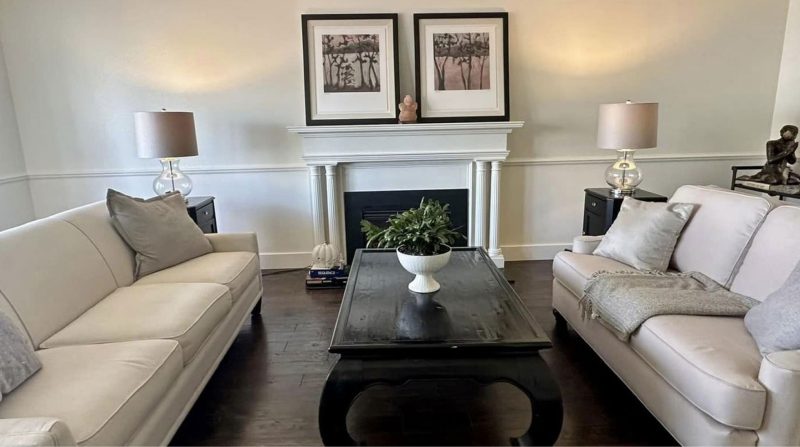
- Color scheme. This indicator depends on the taste and choice of each person. But it is necessary to take into account not only your own preferences, but also the size of the room, its lighting, location relative to parts of the world, and the functional purpose of the room.
Calculating the required amount of paint
It is not difficult to make calculations, but it is very important. There are many different colors and shades of paint on the market. If you purchase an insufficient amount of building materials, they may not be enough to complete the work. The store may not have the necessary shade. In this case, you will have to repaint the entire surface so that the result of your work meets expectations.
The first step to making the correct calculation is to determine the area of the surface that you plan to paint. Very often, the walls and floor are painted in the same color. Then you just need to calculate the area of each wall and ceiling and add these figures. Don’t forget to subtract the space between doors and windows.
As you know from school, to determine the area of a flat surface, you should multiply the length by the width. If you want the walls and ceiling to be different colors, then write down all the figures separately.
The next step will be to choose the paint and determine its quantity. On each can you will find information about the area for which such a volume is designed. In addition, you can always consult with the seller and determine the required number of cans using simple calculations.
At the same time, it is imperative to take into account that for many surfaces you will need to apply paint in two or three layers. Therefore, you need to purchase two or three times more paint.
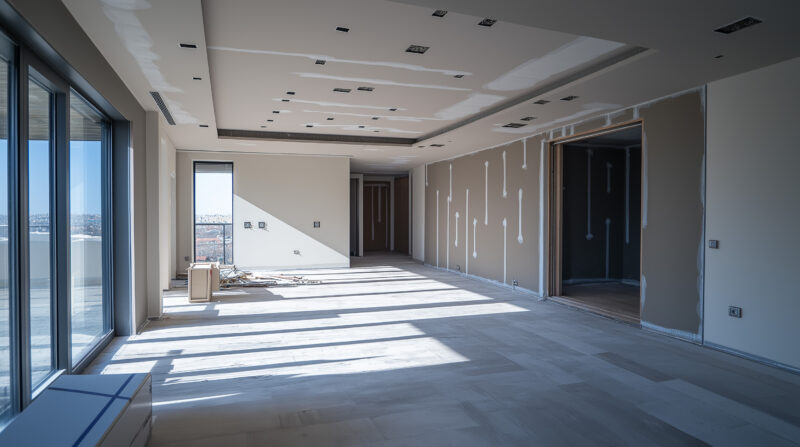
Preparatory stage
To ensure that the painting process itself goes without unnecessary worries and unpleasant surprises, use the following recommendations:
- If possible, remove furniture, carpets, paintings, etc. from the room you plan to renovate. If this is difficult to do, move everything to the central part of the room and carefully cover it with plastic wrap. This will free up space near the walls and protect your belongings from paint and damage.
- The outer casings of switches and sockets, chandeliers, lamps, and cornices also need to be temporarily dismantled. This is much easier to do than to look for a way to wash them of paint after the repair.
- Cover windows, doors, and other interior items that cannot be removed with foil.
- Carefully inspect all surfaces. If you find irregularities, cracks, holes from screws and nails, fill them in. It may be necessary to apply two or three layers of putty. After drying, sand the surface thoroughly. It may be necessary to prime the surface or treat it with mold and fungus agents.
- Now it’s time to wet clean all surfaces. This will get rid of dust, cobwebs, and dirt so that the painted areas look perfect.
- Cover the floor with any protective fabric or film to protect it from paint. If necessary, secure this material with tape or masking tape.
- Prepare the necessary tools. You will need:
- several paint brushes of different sizes;
- a roller and a telescopic handle for it;
- a paint bucket
- masking tape.
- Apply protective masking tape to the surfaces that need to be protected from paint.
- Note. Usually, professional builders have enough skills not to cover some surfaces and not to glue the protective tape. This significantly speeds up the repair process itself and does not affect the quality of work.
Stages of painting
You have purchased the paint, the necessary tools and prepared the room. It is time to start work.
First of all, we paint hard-to-reach places, areas near baguettes, baseboards, window and door frames, corners, etc. This is best done with a small brush. This process requires maximum concentration and accuracy.
Next, we apply the paint with a roller to large surfaces. Do not pick up a lot of paint, remove the excess using the edge of the tray. Apply the paint in even movements from top to bottom. Avoid strong pressure to prevent the paint from spreading.
Do not take a long break in work. If the paint dries completely, then the edge of the transition may be noticeable on one surface on the paint applied later. To get rid of this defect, you need to wait for the surface to completely dry and completely repaint the wall.
It may often be necessary to apply two or three layers of paint, so the whole process will have to be repeated as many times as necessary. This depends on the type of surface, the manufacturer and the type of paint you are using for the job. The next layer must be applied after the previous one has dried.
If you used masking tape, the final step will be to remove it. Do this 10-15 minutes after the painting is finished, when the paint is no longer smearing, but has not dried completely. Remove the tape carefully, at a slight angle, so as not to spoil the results of your work.
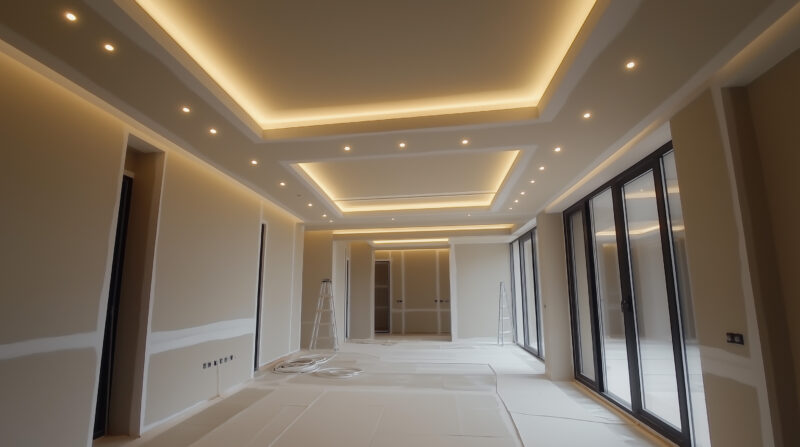
Now you need to prevent the painted surfaces from coming into contact with any objects, wait for the paint to dry and enjoy the final result of the repair.